Smoking - 1
I had a fair amount of questions and comments about the smoky look of my sculptures (a couple people asked what material it was and said it looked like wood or stone), so I thought I’d talk about it here.
(also, fair warning, I am absolutely not certain “smoking” is the way it’s said in english; if someone knows the proper term please do reach out and tell me)
Official Raku
Maybe you’ve seen raku around? Those cracked glazes with very deep blacks?

That’s western raku. Western raku is apparently loosely inspired by the japanese technique called raku, but it mostly took one very specific part of it and ran with it.
Point is, you get those crack by removing the very hot piece of ceramics from the very hot kiln (ceramics oven) and immediately putting it in some kind of combustible. Usually sawdust. That then combusts. Which produces smoke. Glaze, that naturally tends to crack, cracks even more due to the sudden changes in temperature, and the smoke gets inside the cracks and colors them black. Non-glazed parts get more smoke and turn darker, and their matte texture contrasts with the shinier one of the glaze.
And if you cover it the smoldering eats at the oxygen inside and glazes react -sometimes vividly- to being fired in an atmosphere with low oxygen.
“Smoking” (“enfumage” in french) is the part with the smoke (especially on sculptures without glaze).
That’s the theory.
Unorthodox Smoking
Now, I’m a bit experimental about it. Here’s my process:
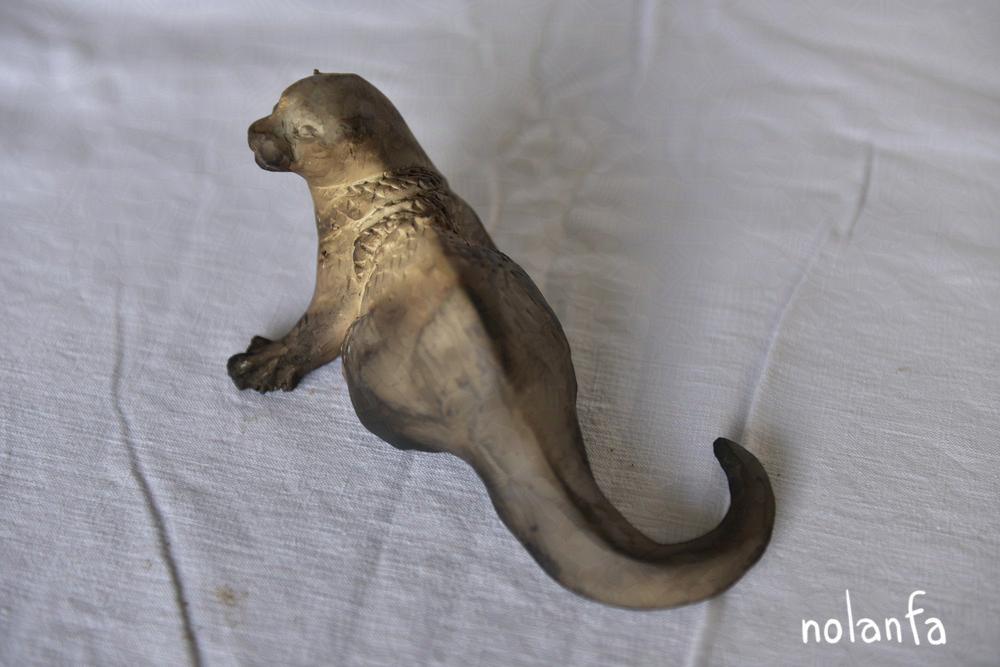
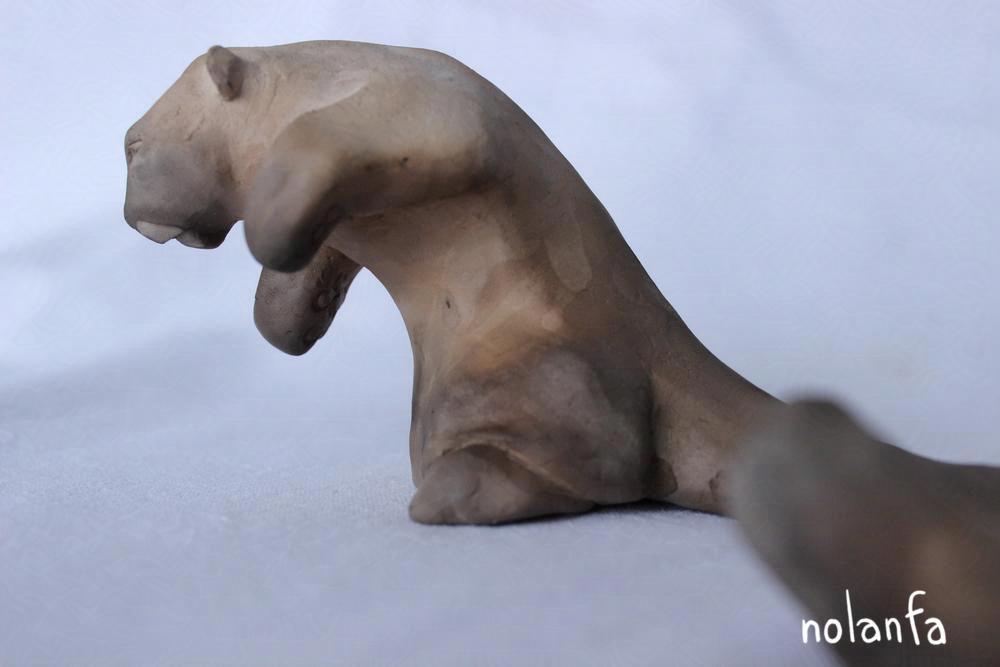
The sculptures are white(-ish; sometimes a bit creamy depending on the clay) at the beginning, and smoky at the end:

So I first sculpt, wait forever (a couple weeks to a couple months) for it to dry, send it to the kiln, and fire it for the first time. Then I:
1) Heat it up in a kitchen oven
(in theory you should smoke it just after the biscuit (first firing) is done, when it’s just out of the kiln and still super super hot, but I do not have my own kiln so I can’t);
When it’s hot it takes the colour better, and maybe it works even if it’s just 200°C / 400°F and not 1000°C / 1800°F. It’s a bit hard to do tests since putting it in a fire does heat it up.
I was fearing thermal shock might make thin pieces break if I didn’t heat it up first but that does not seem to be an issue.
2) surround it with scrunched up newspapers and ads, and lit them on fire
Be careful to do it somewhere that won’t catch fire.
(in theory you should do it with sawdust, leaves if you want fancy patterns, horsehair or feathers or whatever organic material you have at hand for even fancier patterns, but this all only works if the clay is hot enough to make it catch fire on its own; the way I do it I need to lit the fire myself, and so fancy patterns of this kind are out because the combustible starts burning away from the clay instead of catching fire on contact).
 Every so often I get a couple of green-ish spots (like at the base of the tail / the haunches of the big panther above), I’m assuming because of chemicals in the ink burning. Using plain paper or just black-and-white would probably let me avoid it if I wanted to, but I haven’t really tested it because I like this look an unreasonable amount.
If your clay is kiln-hot you should put a cover on it so the smoke stays and tints it darker, but the way I do it I feel like that smothers the fire and doesn’t help, at least for small sculptures (maybe because the container is about five times as high as the sculptures so the smoke stays trapped but too high to touch them) (more testing necessary).


3) sometimes do a second or third pass if the smoke pattern is not dark enough
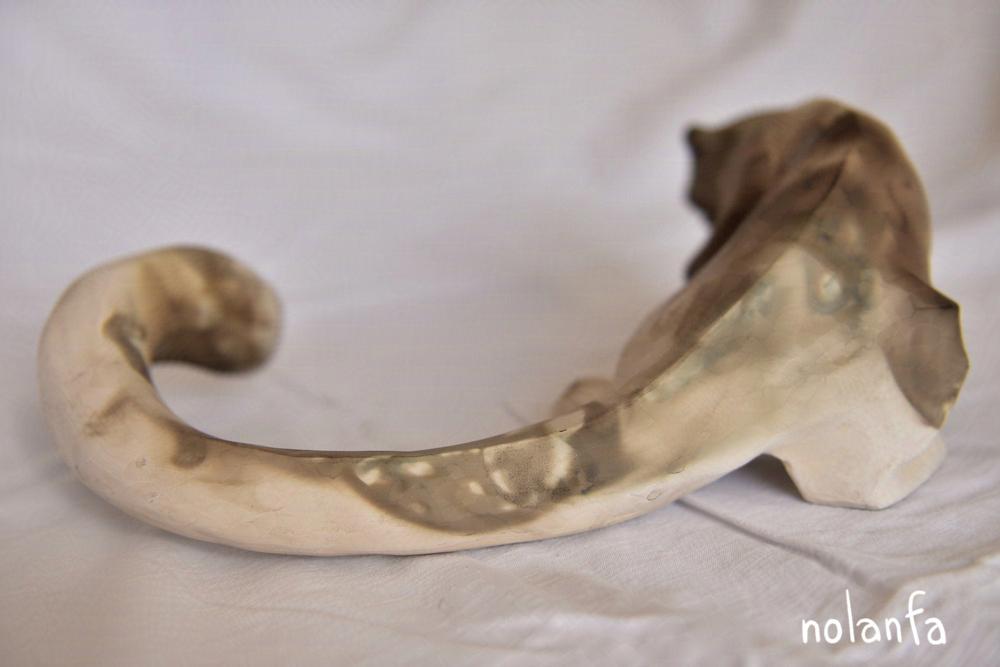
The panther whose tail we see above is about 40 cm / 16 inches on the longest dimension; I recently smoked another batch that’s much smaller, more like 8-15cm / 3-6 inches on the longest dimension, and the patterns are closer to a plain gradient (maybe because if you put a big pattern on a tiny sculpture you don’t see the whole pattern, just the border of it - or maybe that was when I was testing not pre-heating them, I don’t recall):

I had some interesting effects in the first smoking (the same as the big panther), tiny white spots, like this (this hare is medium-sized, maybe 20cm / 8 inches long), but I have no clue why, or how to reproduce it (I use clay with grog (pre-cooked clay dust mixed into raw clay, that creates texture), so maybe it is linked to that? Who knows.):
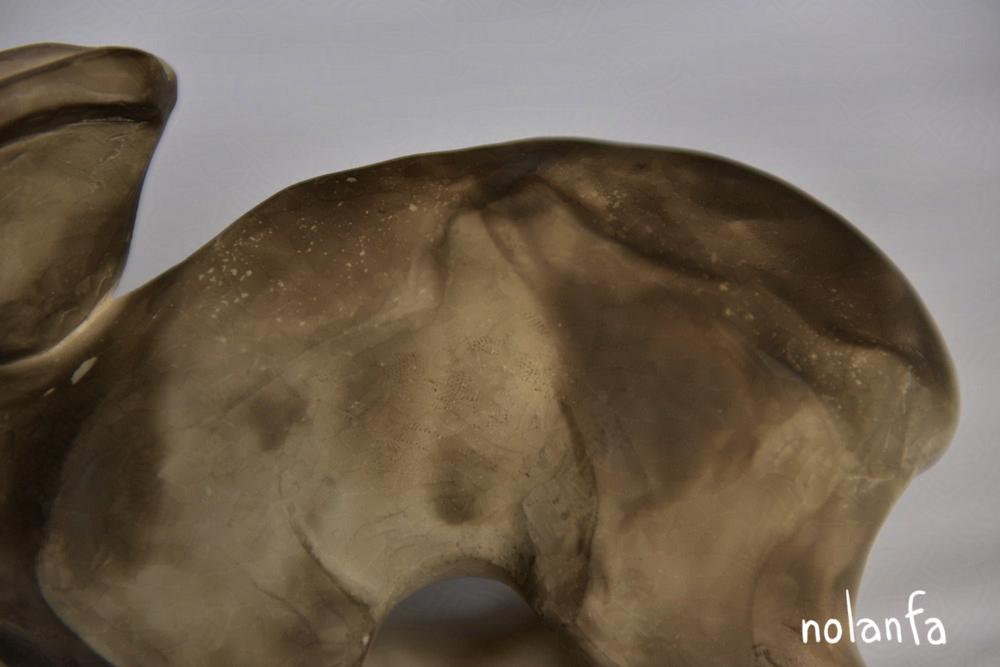
I added some water droplets to a recent smoking and it does seem to keep areas from darkening as much, which allows for some more pattern control (here on the flank/back under the arm). I did it on the tail too, and it did not break due to thermal shock, which was a concern I had; but the change in color is not quite as visible as I’d like. I should try some tests with wet bands of cloth - or slip (wet/muddy clay)? pretty sure I can make patterns with slip if it doesn’t fall off, should be interesting - at least on the tail, that should give something interesting)
And once a few years back I kept smoking something for a bit longer than usual and it got this very deep black-brown and shiny, caramelized sugar-like - which I very much liked; but I think it was a leftover product in the container I smoked in (it had contained paint before so maybe some kind of oil…?). I’d like to be able to reproduce it but I like my lungs in working order (so no burning unknown chemicals on purpose) and also I think all the chemicals burned away anyway so I’d have to find new ones (I could try sprinkling it with salt or sugar or something, I know you can glaze with salt (… at 1000+°C / 1800+°F) so it might give interesting results - or flop completely; that’s what makes it interesting).
Conclusion
So: I’ll keep experimenting with smoking, and probably make a new post about it when I have more data.