People in Places - 5 : animation
< previous part: slicer settings<
People in Places: Mountains
Animation
- I had modeled them already in position since animation was not planned from the start (also it’s more fun to sculpt).
- just rig (add an armature and link it to the mesh) and animate it.
-
I did not make a full armature for those since I knew I wanted very limited movement.
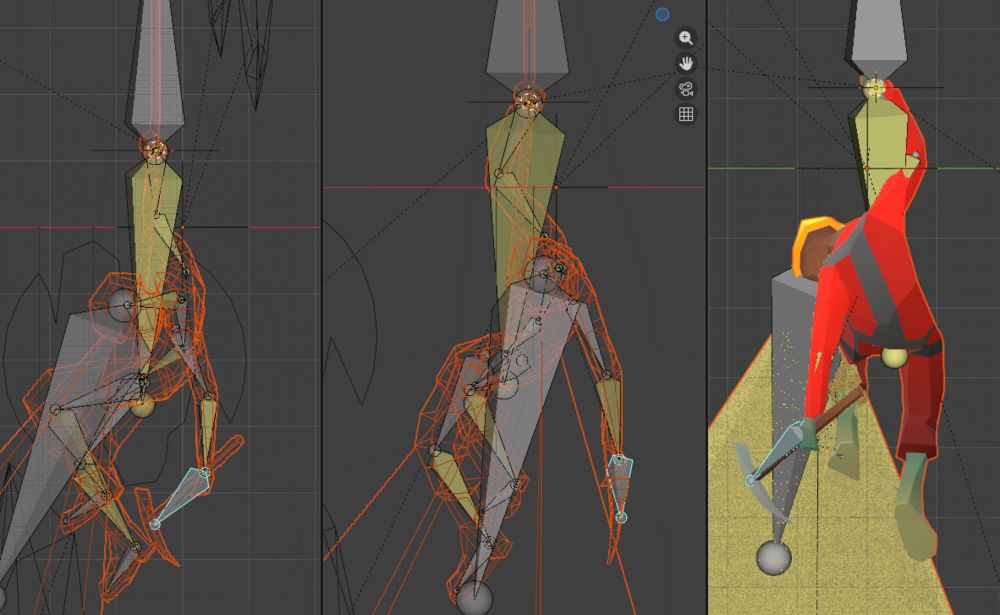
The photographer only has one arm, two hands, its lens, and the butterflies rigged / animated: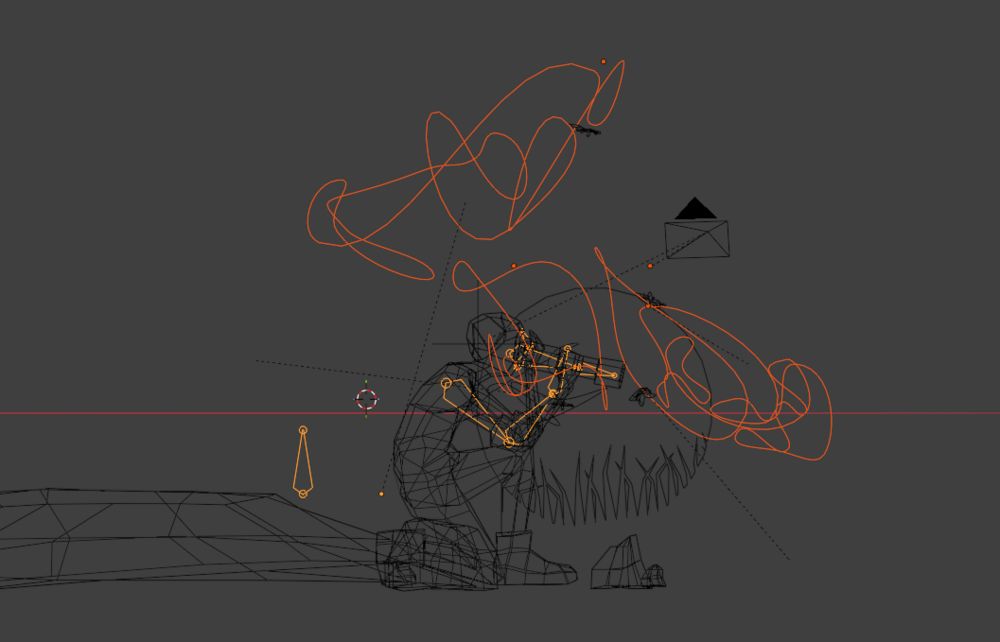 The spelunker was fully rigged, including the headlamp (which just uses the head bone really), but as it was hanging from a rope the rig was a bit unconventional (the root of the rig is on the rope, where the spelunker’s hand rests):
- the animations are turnarounds: the camera keyframes interpolation mode (in the Graph Editor, Key > Interpolation Mode; the way it’s animated in between keyframes) must be Linear. If it has the default Bezier one, it will start and end very slow and the start and end points of the animation will be obvious.
- the animated textures’ keyframes must also have a Linear interpolation mode, for the same reasons. (in case you want something that is not Linear, il will look better if they both have the same interpolation mode)
- the animated textures’ keyframes values will probably need to change very slowly. I went from 0 to 1 in 600 frames (24 seconds).
- for them to loop, the texture is not just one texture going from W:0 to W:1, but there’s also a second one (exact same settings) going from W:1 to W:0, and a Mix Color mode in Soft Light mode to mix them together. Otherwise, there’d be a visible hitch between last and first again frame.
- since I had a very bare background, and I did not want to show the shadow of the characters on the non-existent ground (one of them would have had grass. I did not feel like figuring out ou sculpting it), I added a couple grounding elements so it would be obvious the camera is the one rotating and not the character. It is better to have (at least) two elements, each on one side of the character; otherwise it feels like the character is gliding instead of rotating when both background elements move in the same direction.
- the turnaround takes 600 frames to complete. The character animations take 200 or 300 (if the turnaround time is a multiple of the character animations time then I can just export one turnaround and have it loop; much simpler). Their Extrapolation Mode (in the Graph Editor, Channel > Extrapolation Mode; the way it behaves after the last keyframe) must be Make Cyclic (possibly you need to select all curves/nodes first, I don’t recall). So that it loops.
Conclusion
Great, hope that was useful! (and/or interesting!)
It is unlikely I’ll animate more of this unless a specific project comes up.
I probably will print enough so I have one of each character though.
And I have a People in Places: Sea series in progress, which will probably see the light of day (as twelve still pictures) within the next, say, five years.