People in Places - 4 : slicer settings
< previous part: 3D prints in 3D software < | > next part: animation >
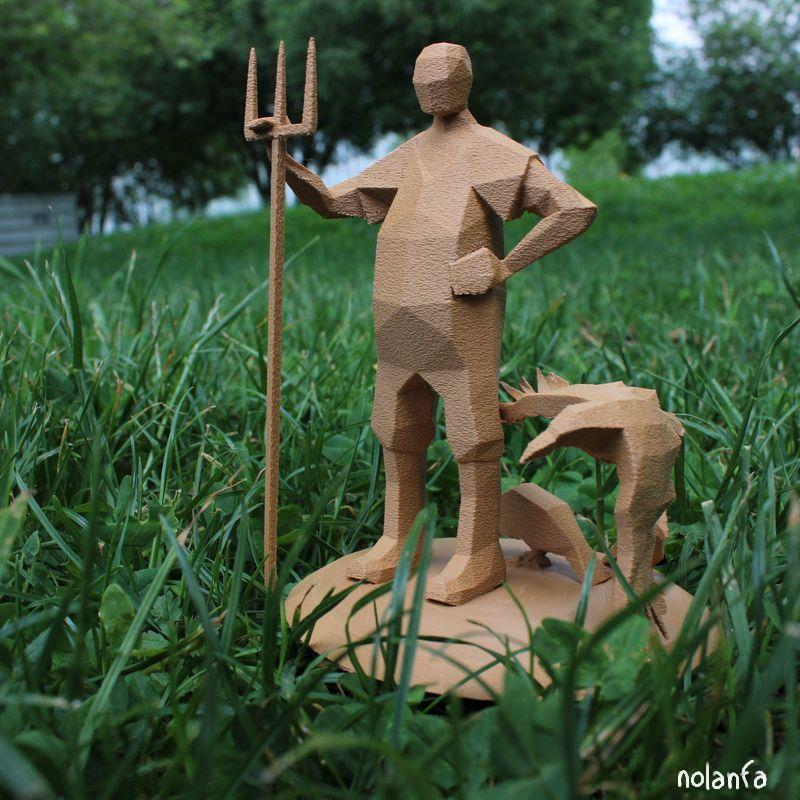
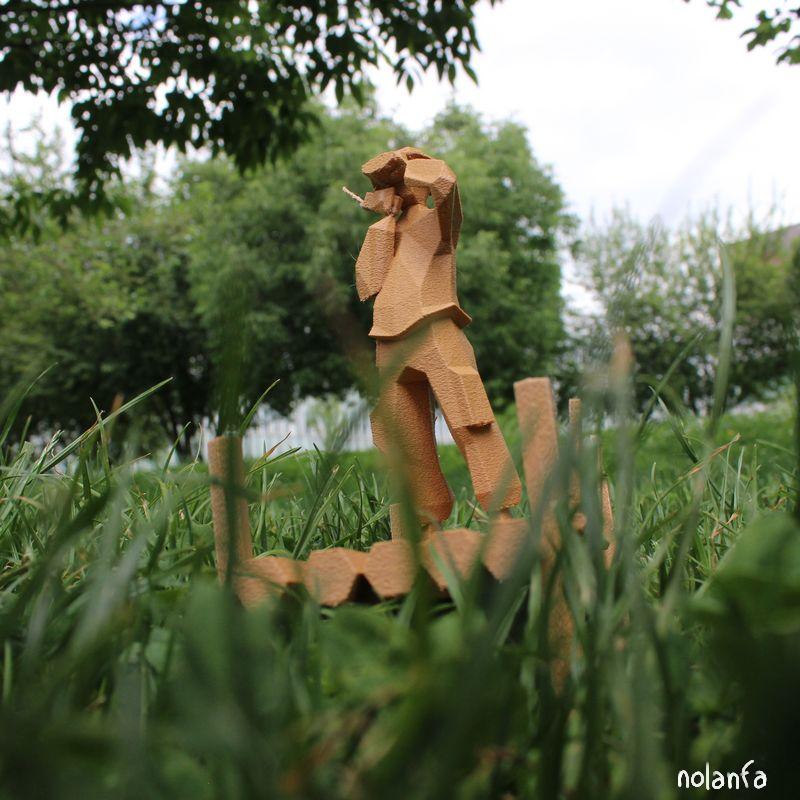
People in Places: Mountains
 |
 |
3D Printing
in your slicer software
- when you ask it to start slicing it should tell you “oh no :( you need supports or it’ll go spectacularly wrong. Please activate the supports generation?” (not quite worded like this). So listen to it and activate supports generation. I have no clue why it’s not on by default. I have to do it every time (and for prints that don’t need it the software doesn’t add them so I can see no downside to this option’s default being “on”).
- if you’re looking around and see the “on build plate only” option, you’ll probably think what a great idea! After all, supports standing on part of your 3D-printed object may leave traces, which is ugly. Better explicitly tell it to only build supports on the printing plate!
-
- But you know what else is ugly? Sagging filament because something needed a support but was too low / far from the side to be able to get one without touching the sculpt. You know what else is even uglier? Half of your sculpture just not printing and making spaghetti on the other half. Do allow your slicer to put supports on printed material; as far as it can it tries to avoid it anyway, unless you really need it; in which case, well, you really need it.
-
- This varies from sculpture to sculpture; for some it may work okay. But I had wide bases so unchecking it made the print absolutely unusable. And for some reason it doesn’t give error messages for that. When the support couldn’t reach a dangling limb because I had forbidden it to step on the printed base, it didn’t tell me and just started printing midair when it reached the bottom of the limb (which, obviously, failed, and wasted probably about one third of my spool of filament and 10 hours).
- if you’re looking around and see the “only strictly necessary supports” option, you’ll probably think what a great idea! After all, removed supports do leave some traces sometimes, which is ugly. Also, it’s annoying to remove. Better to explicitly tell it to avoid that! But you know what else is ugly? Sagging filament. You know what else is annoying? Having to restart a printing. I think it is less critical than the previous option, but do leave it off anyway. It might depend on your filament and your other options (the angle at which to add supports for example) but I’ve only ever tried the one.
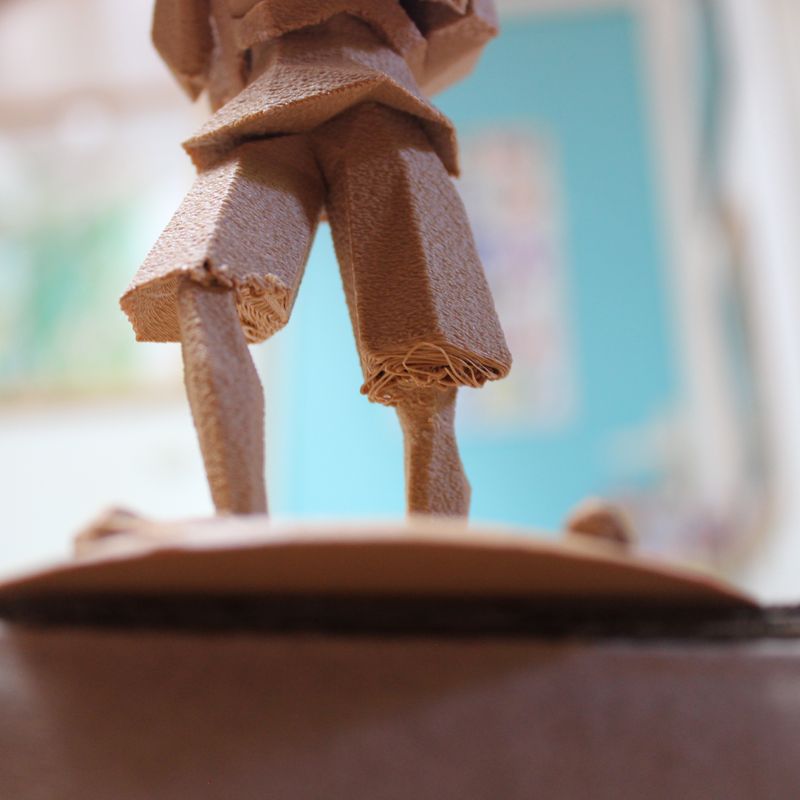
Sagging filament at the end of the lens: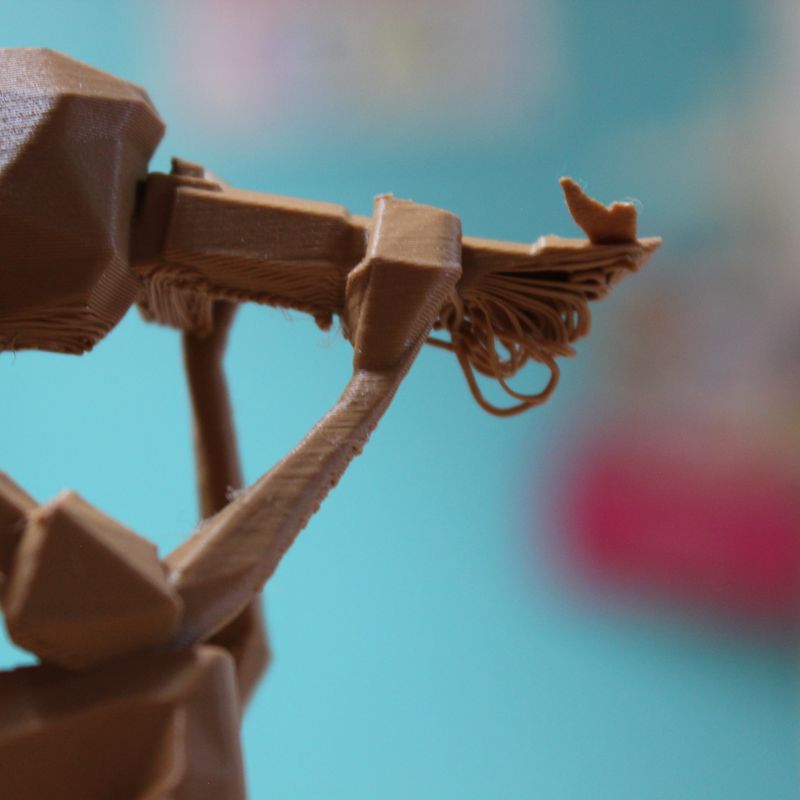 Sagging filament under the hem of the short pants:
- I used the fuzzy skin option (Others > Special Mode; I use Classic noise type). It helps make the printing lines less visible by adding a slight texture (the printing head, instead of doing straight lines, adds a small randomness on the horizontal plane), and makes it look more matte. I like it a lot. It looks less like plastic. Ymmv.
Comparison between three 3D print textures: left is printed with fuzzy skin in 0.12mm layers (the setting I ended up using for the whole series), middle has the procedural geometry nodes wood texture (and fuzzy skin, in 0.12mm), and right the default texture in 0.20mm.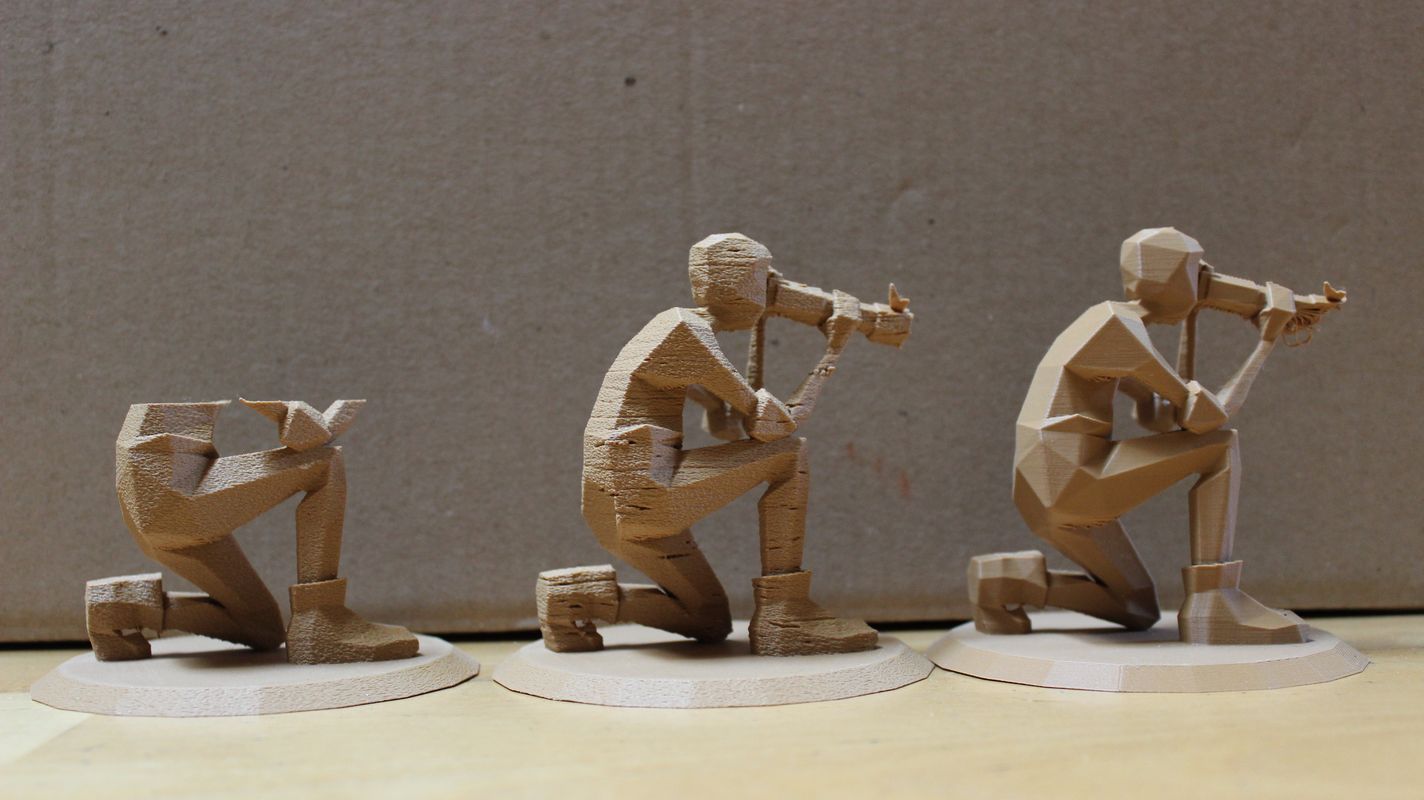
- the ironing option (Advanced: on; Quality > Ironing) makes for flat horizontal surfaces with less visible horizontal printing lines; does not pair well with sculptures with a lot of aaaaalmost horizontal surfaces, but would probably be great for non-organic sculpting.
- Hilbert Curve top surface pattern produces small holes in a grid pattern (even with ironing). I do not recommend it for organic shapes.
- Archimedean Chords top surface pattern makes circles at the center of the surface. For flat circular bases it vaguely reminds me of wood, I like it.
- Concentric top surface pattern sound like a good idea but tends to produce weird seams at the center of irregular shapes. As for the others, I did not like the ones with straight lines for my circular bases. Depends on the shape you’re going for.
An example of Concentric: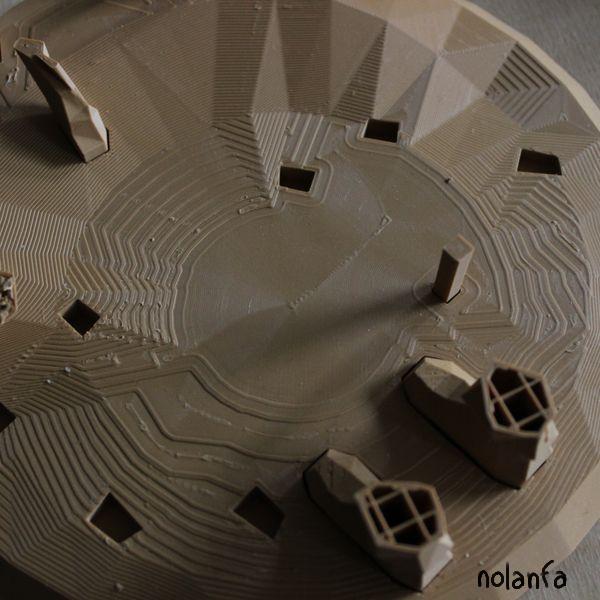
- adding a small brim is probably useful for stability. I haven’t tested enough to have conclusive results yet.
- when removing supports after printing, gently rotating them side to side when possible, while firmly maintaining the permanent part of the sculpture, seems like the best way to do it. It usually is not possible due to permanent parts of the sculpture being in the way. In those cases, I use a scrapper and/or a screwdriver but you must be careful not to damage the sculpture or your own fingers.
Scrapper tool:
- I have been told that if I accidentally scratch it, gently heating it with a hair drier or equivalent would remove the mark (unless you use the ironing option, in which case it would mess it up). I haven’t tested it.
- if you make mistakes or print in several parts, white wood glue is very sturdy on PLA when dry; the instant glue I tried stayed soft and didn’t work well.