People in Places - 1 : 2D prints
< previous part: introduction < | > next part: procedural textures >
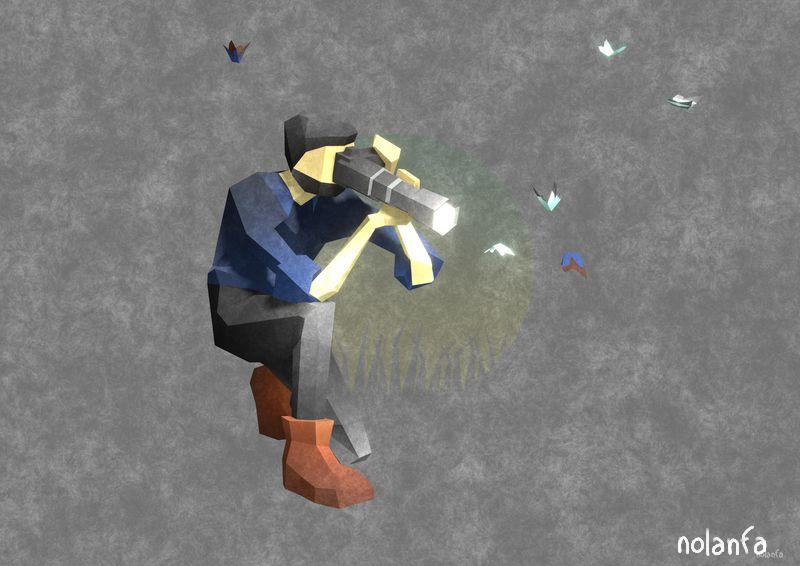
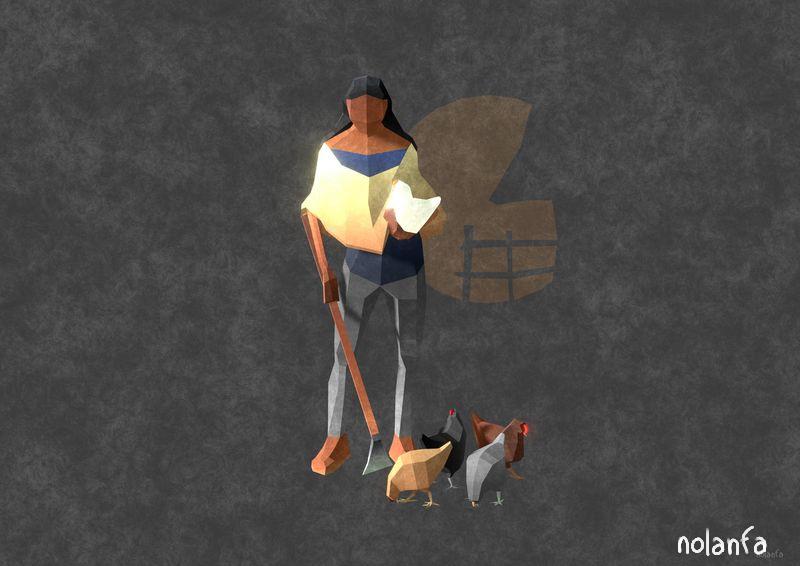
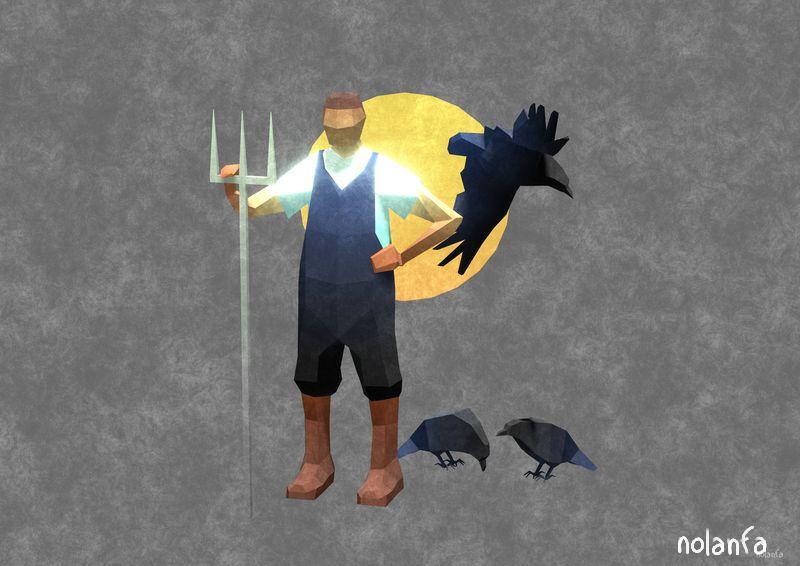
People in Places: Mountains
 |
 |
 |
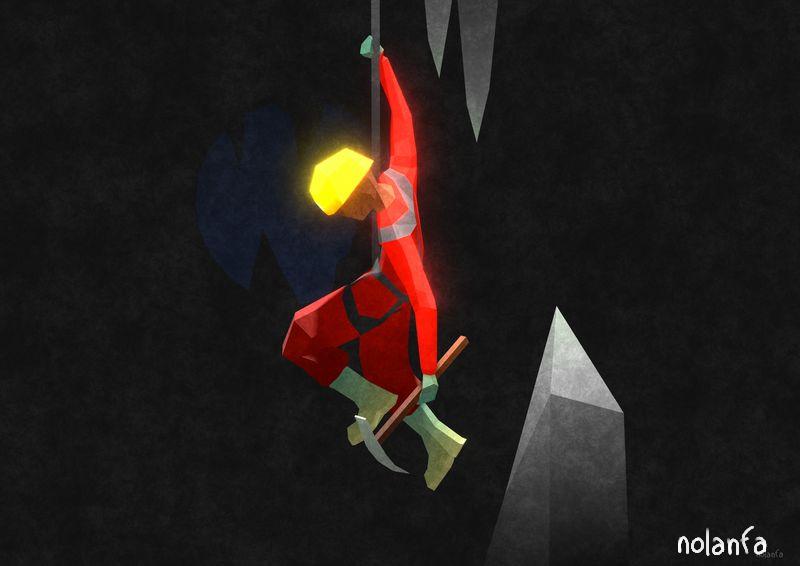 |
2D Print
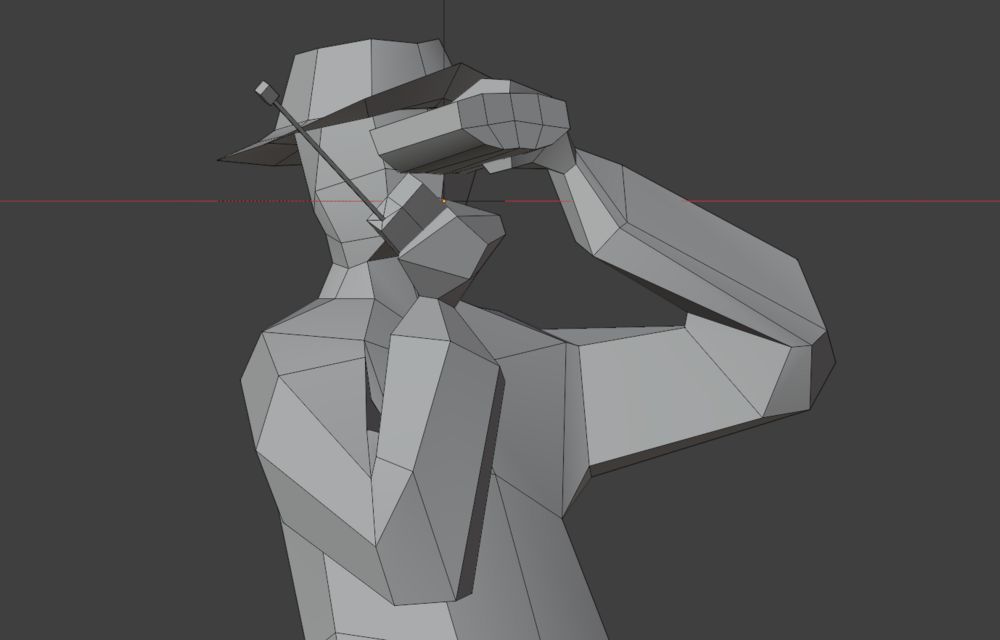
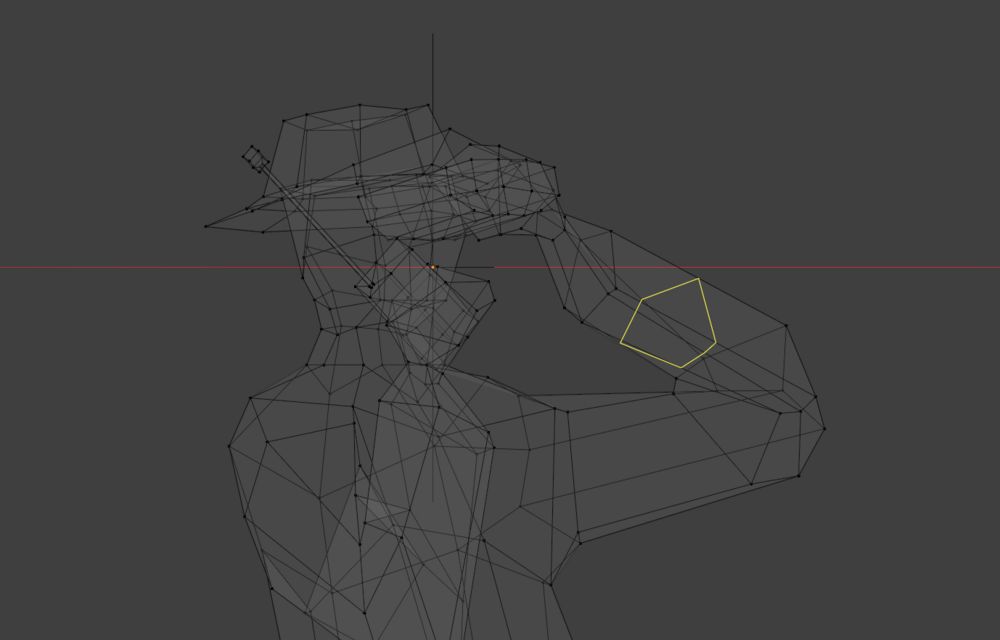
modeling
- first, I model a low-poly character. I use blender, so my instructions will be tailored to it, but the same functionalities should be available in any generalist 3D software. I start from a cube and extrude, loop cut, and Rotate/Move/Scale vertices a lot of times. There are other ways to do it but it’s the one I feel more comfortable with.
 |
 |
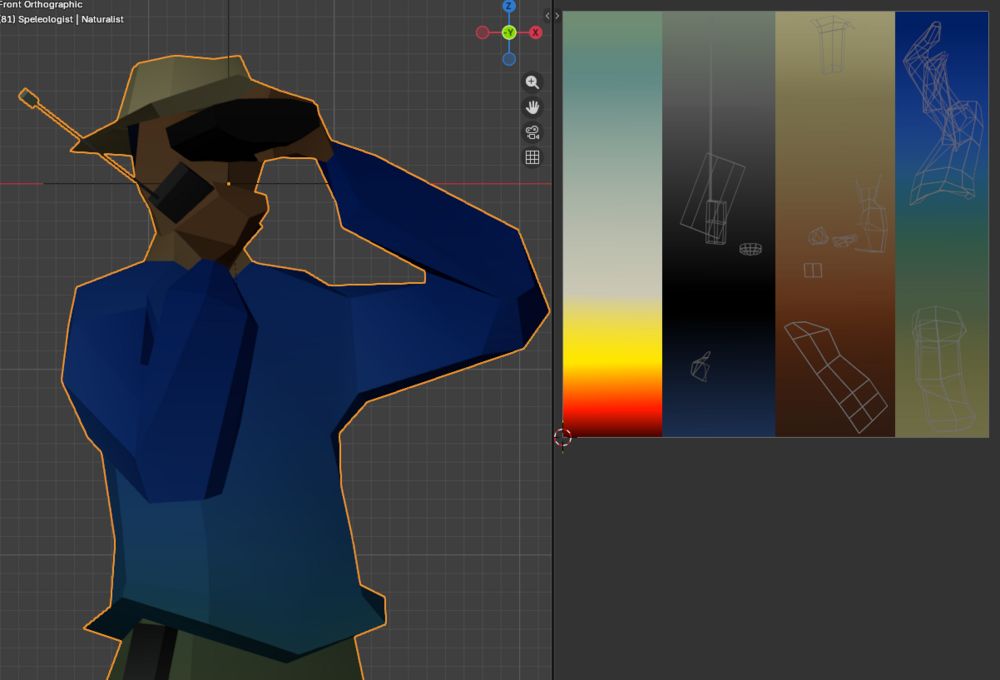
material
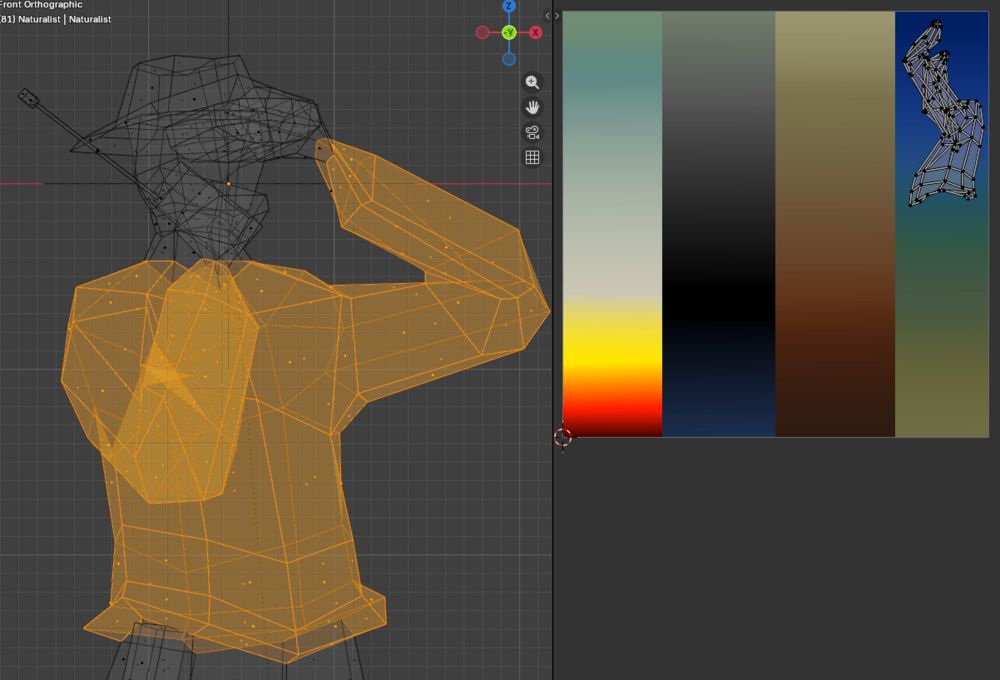
- then draw a couple gradients on a small canvas (here I used 256x256 but it could work with something as small as 10x10 too). I usually start with only a few gradients and update it on the way as necessary. It will be the color for all characters of the series; they share the same colors and the same material.
- Then unwrap your mesh (make it flat so you can assign a color / pattern to each face); for this style I use a lot of “unwrap from view” with specific faces selected that I then put on the gradient picture; some unwrapped vertices overlap, it’s fine, just means they have the same color. I usually at this point need to scale along the X or Y axis my unwrapped vertices so they fit in the thin gradient and so the gradient changes colors exactly as fast as I want.
- Usually I add a little bit of emission (using the exact same colors/map as the colors) to the material to lighten the shadows.
 |
 |
organizing
- I put all the characters in a single file, in a line (one each 20 units) and animated the position of the camera (that moves 1 unit each frame) and the color of the background, which allows me to export them all at once by setting the animation frame step at 20. I’m unsure whether it’s the absolute best way to do it (compared to them having one file each) but it works for me.
texture overlay
- then go to the Compositor window.
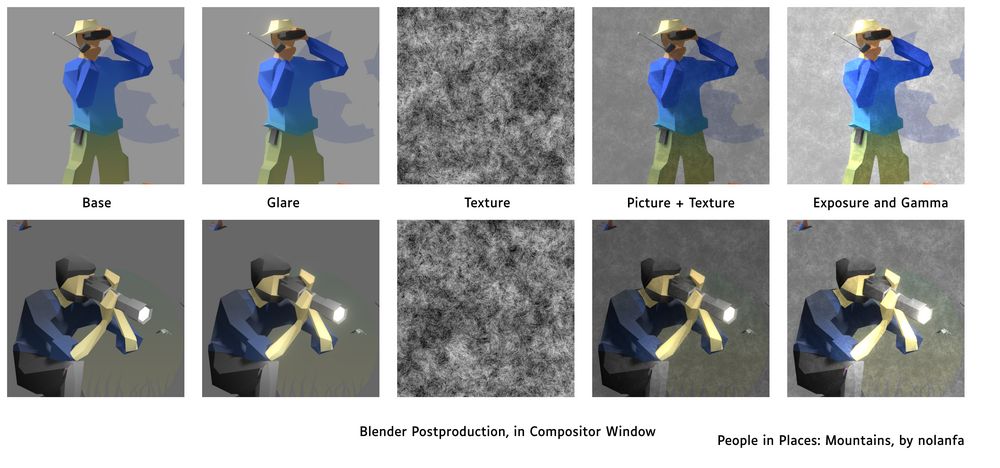
- The texture over the prints is procedurally-generated. In a first version I had spilled tea on a paper sheet, scanned it, and added it over the 3D renders using a drawing software, but I wanted it all to be done in blender (less hassle), and to have an infinite number of possible textures (or at least twelve, since I had twelve characters).
- My setup in the compositor is mostly a bunch of Noise nodes (you can use Gabor or Voronoi or something else though; Blender’s Noise node uses Perlin noise) modulated through a colorRamp and mixed together with a Mix Color node. Then I play with the different color mixing modes, and sometimes use a texture as the Factor input of the Mix Color nodes.
- One important thing if you either want to export several pictures with slightly different textures or an animation, is to have your Noise texture in 4D, and to have one single animated variable controlling all of the W input (only available on 4D noises) of your five hundred Noise textures. So you change it once, it changes them all. Like when you’re testing how fast it should be animated.
-
- If you want the texture to zoom in or out for testing while keeping it looking otherwise the same, one single Value node feeding all the Scales (with the occasional Add or multiply node so they move the same but don’t necessarily have the same value) is a good idea too.
-
- Ideally if you group your noise nodes the variable should be outside of the group (so you can use the same one for different groups).
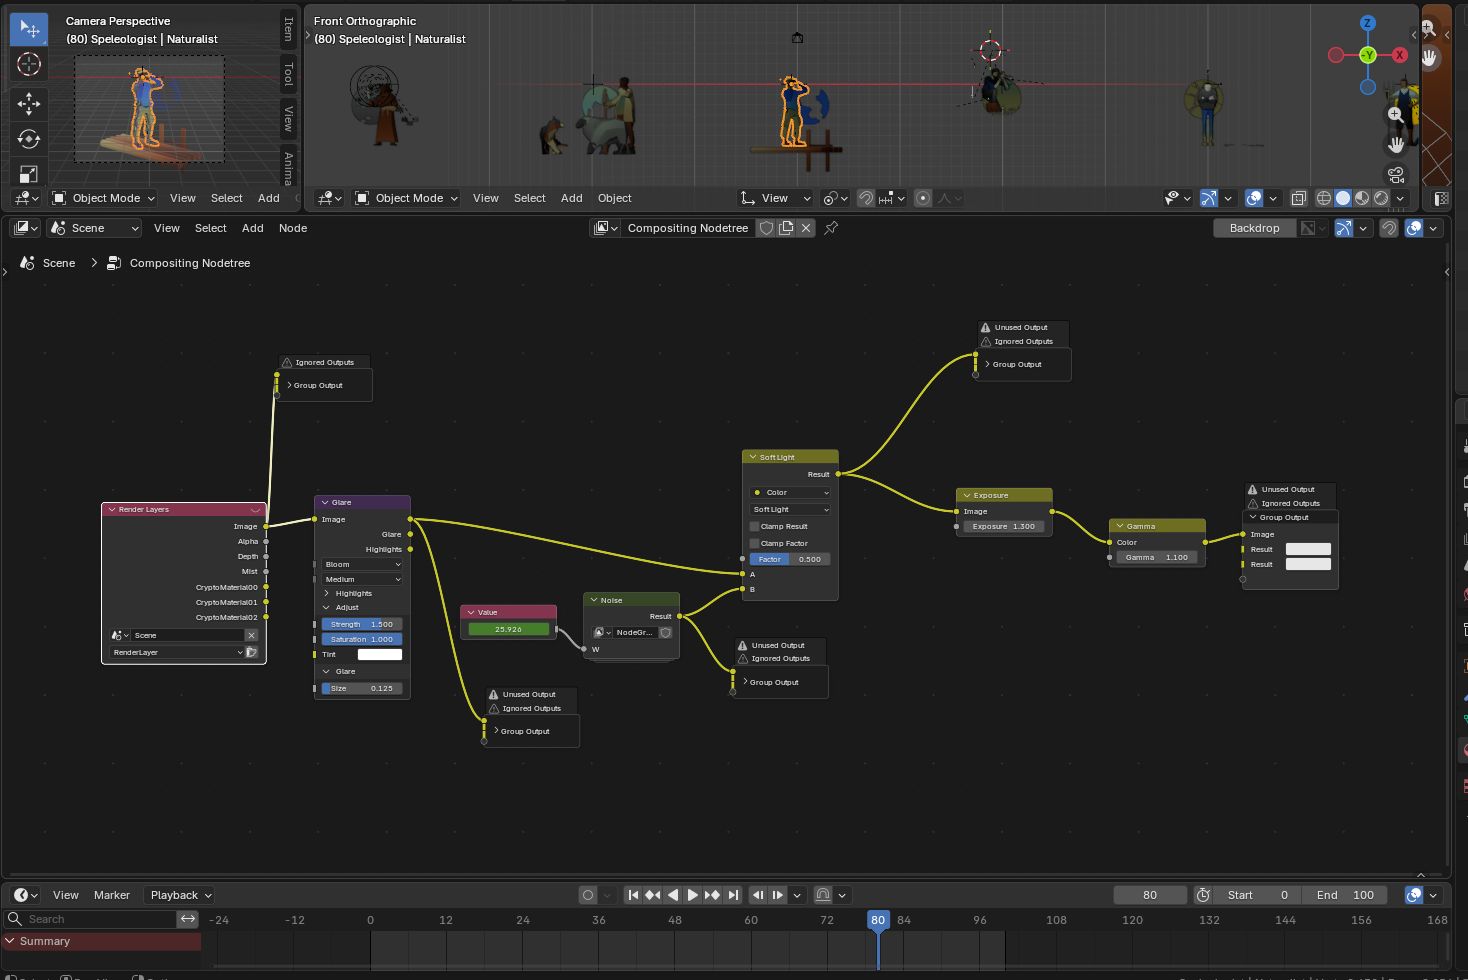
- I also used a Glare node and Gamma and Exposure ones to control the luminosity, since textures can affect it quite a bit, and you need a lighter version for print than for web.
the whole node tree (ignore the “unused output” nodes, they’re only used to create intermediary pictures for documentation):
the nodes group (called “Noise” in the previous picture) that creates the noise

the nodes group, in process pics:
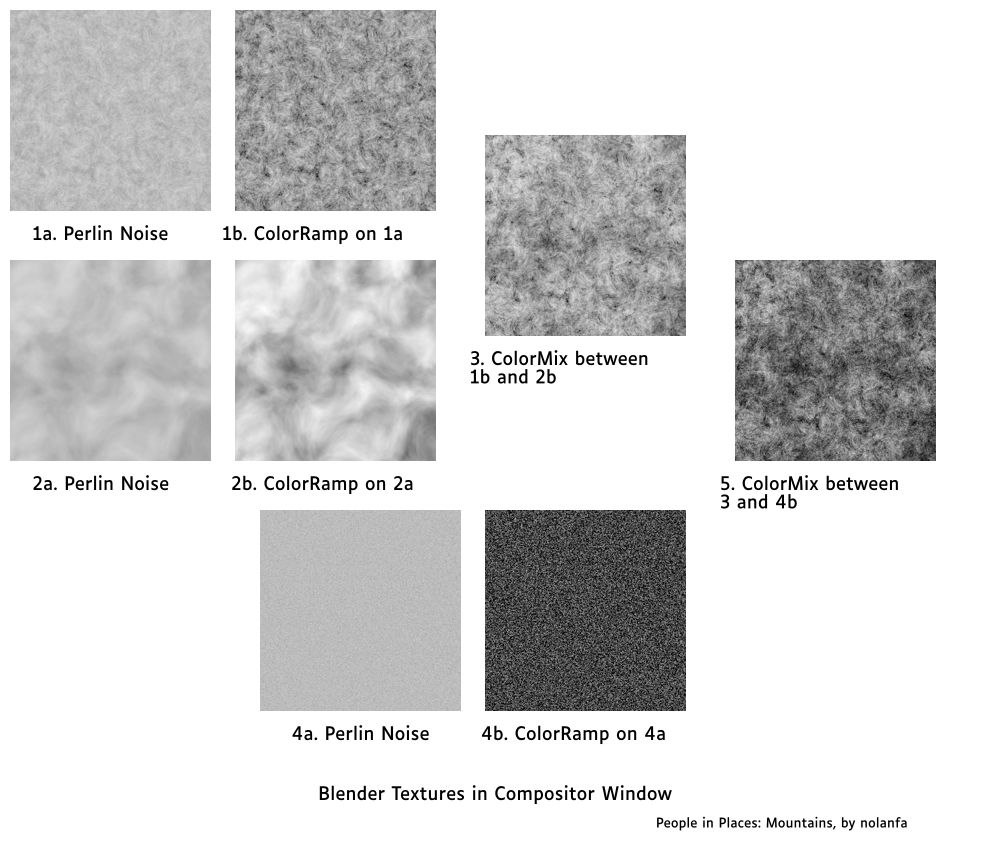
all the steps:
geometry texture test
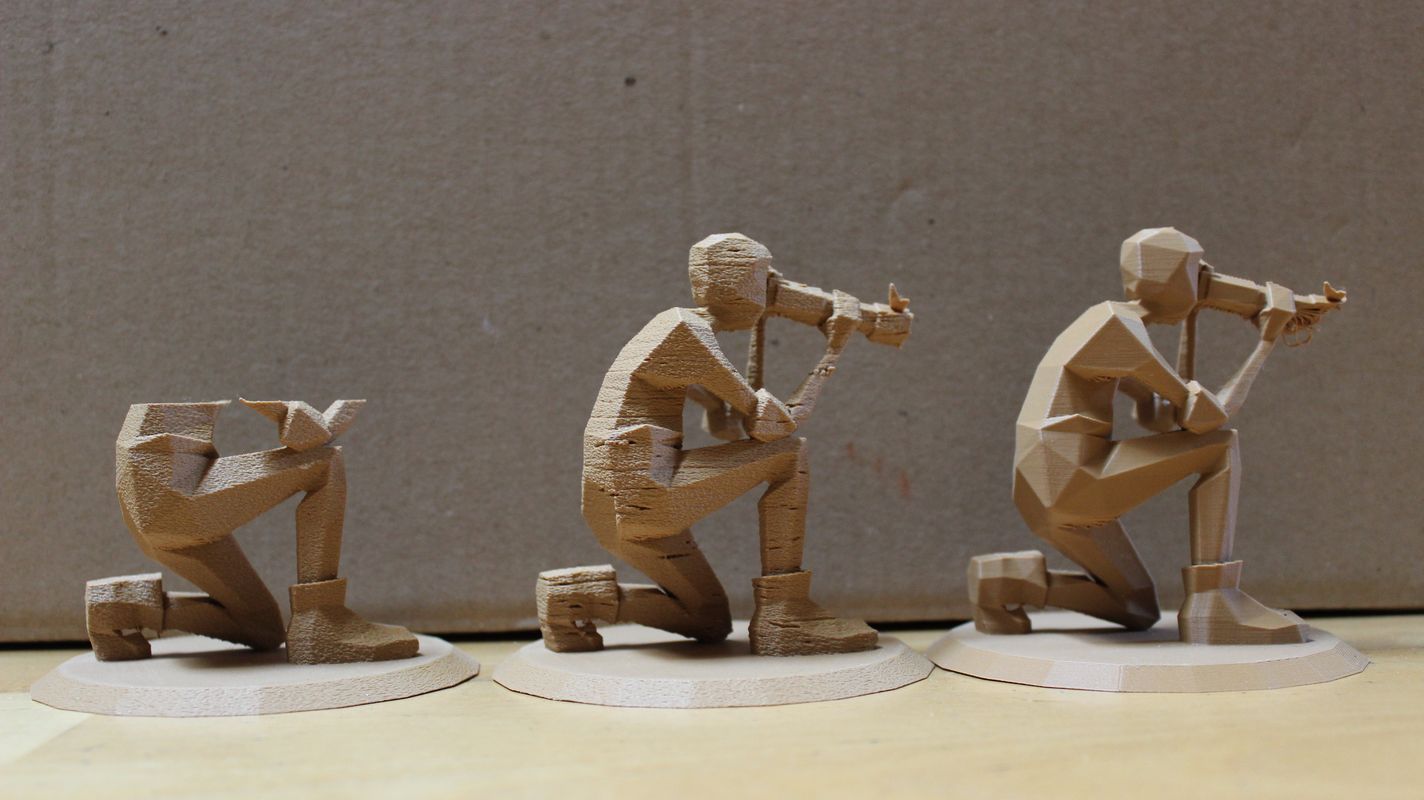
- I tried to make a procedural wood texture to add to the traditional-ish look, but it was not quite convincing enough. I used geometry nodes, a procedural wood texture scaled along one axis to lengthen it, and a very high Subdivision Surface modifier (option: simple, so it raises the resolution without changing the shape), but I ruled it too distracting from my low-poly aesthetic, and sometimes instead of gouging in the texture (like wood grain) it stuck out (like mushrooms) for no reason I could find. I think I could find a way to make it work and it would look great, but it requires more testing that I had time for.
Comparison between three 3D print textures: left is printed with fuzzy skin (the setting I ended up using for the whole series), middle has the procedural geometry nodes wood texture (and fuzzy skin), and right the default texture.